Permanent caches: For the “Long Haul”
Over the course of the past year or so, I’ve had 5 or 6 requests for something that I would call a permanent cache. Several people have shown interest in burying items with the intent of only recovering their cache in the event of some type of extreme emergency, or simply never recovering it at all. Their interest was in burying something and leaving it undisturbed for decades. One individual had the intent of leaving some items for their child, to be opened in 15-20 years, and did not want to be bothered by repeatedly digging it up and checking it.
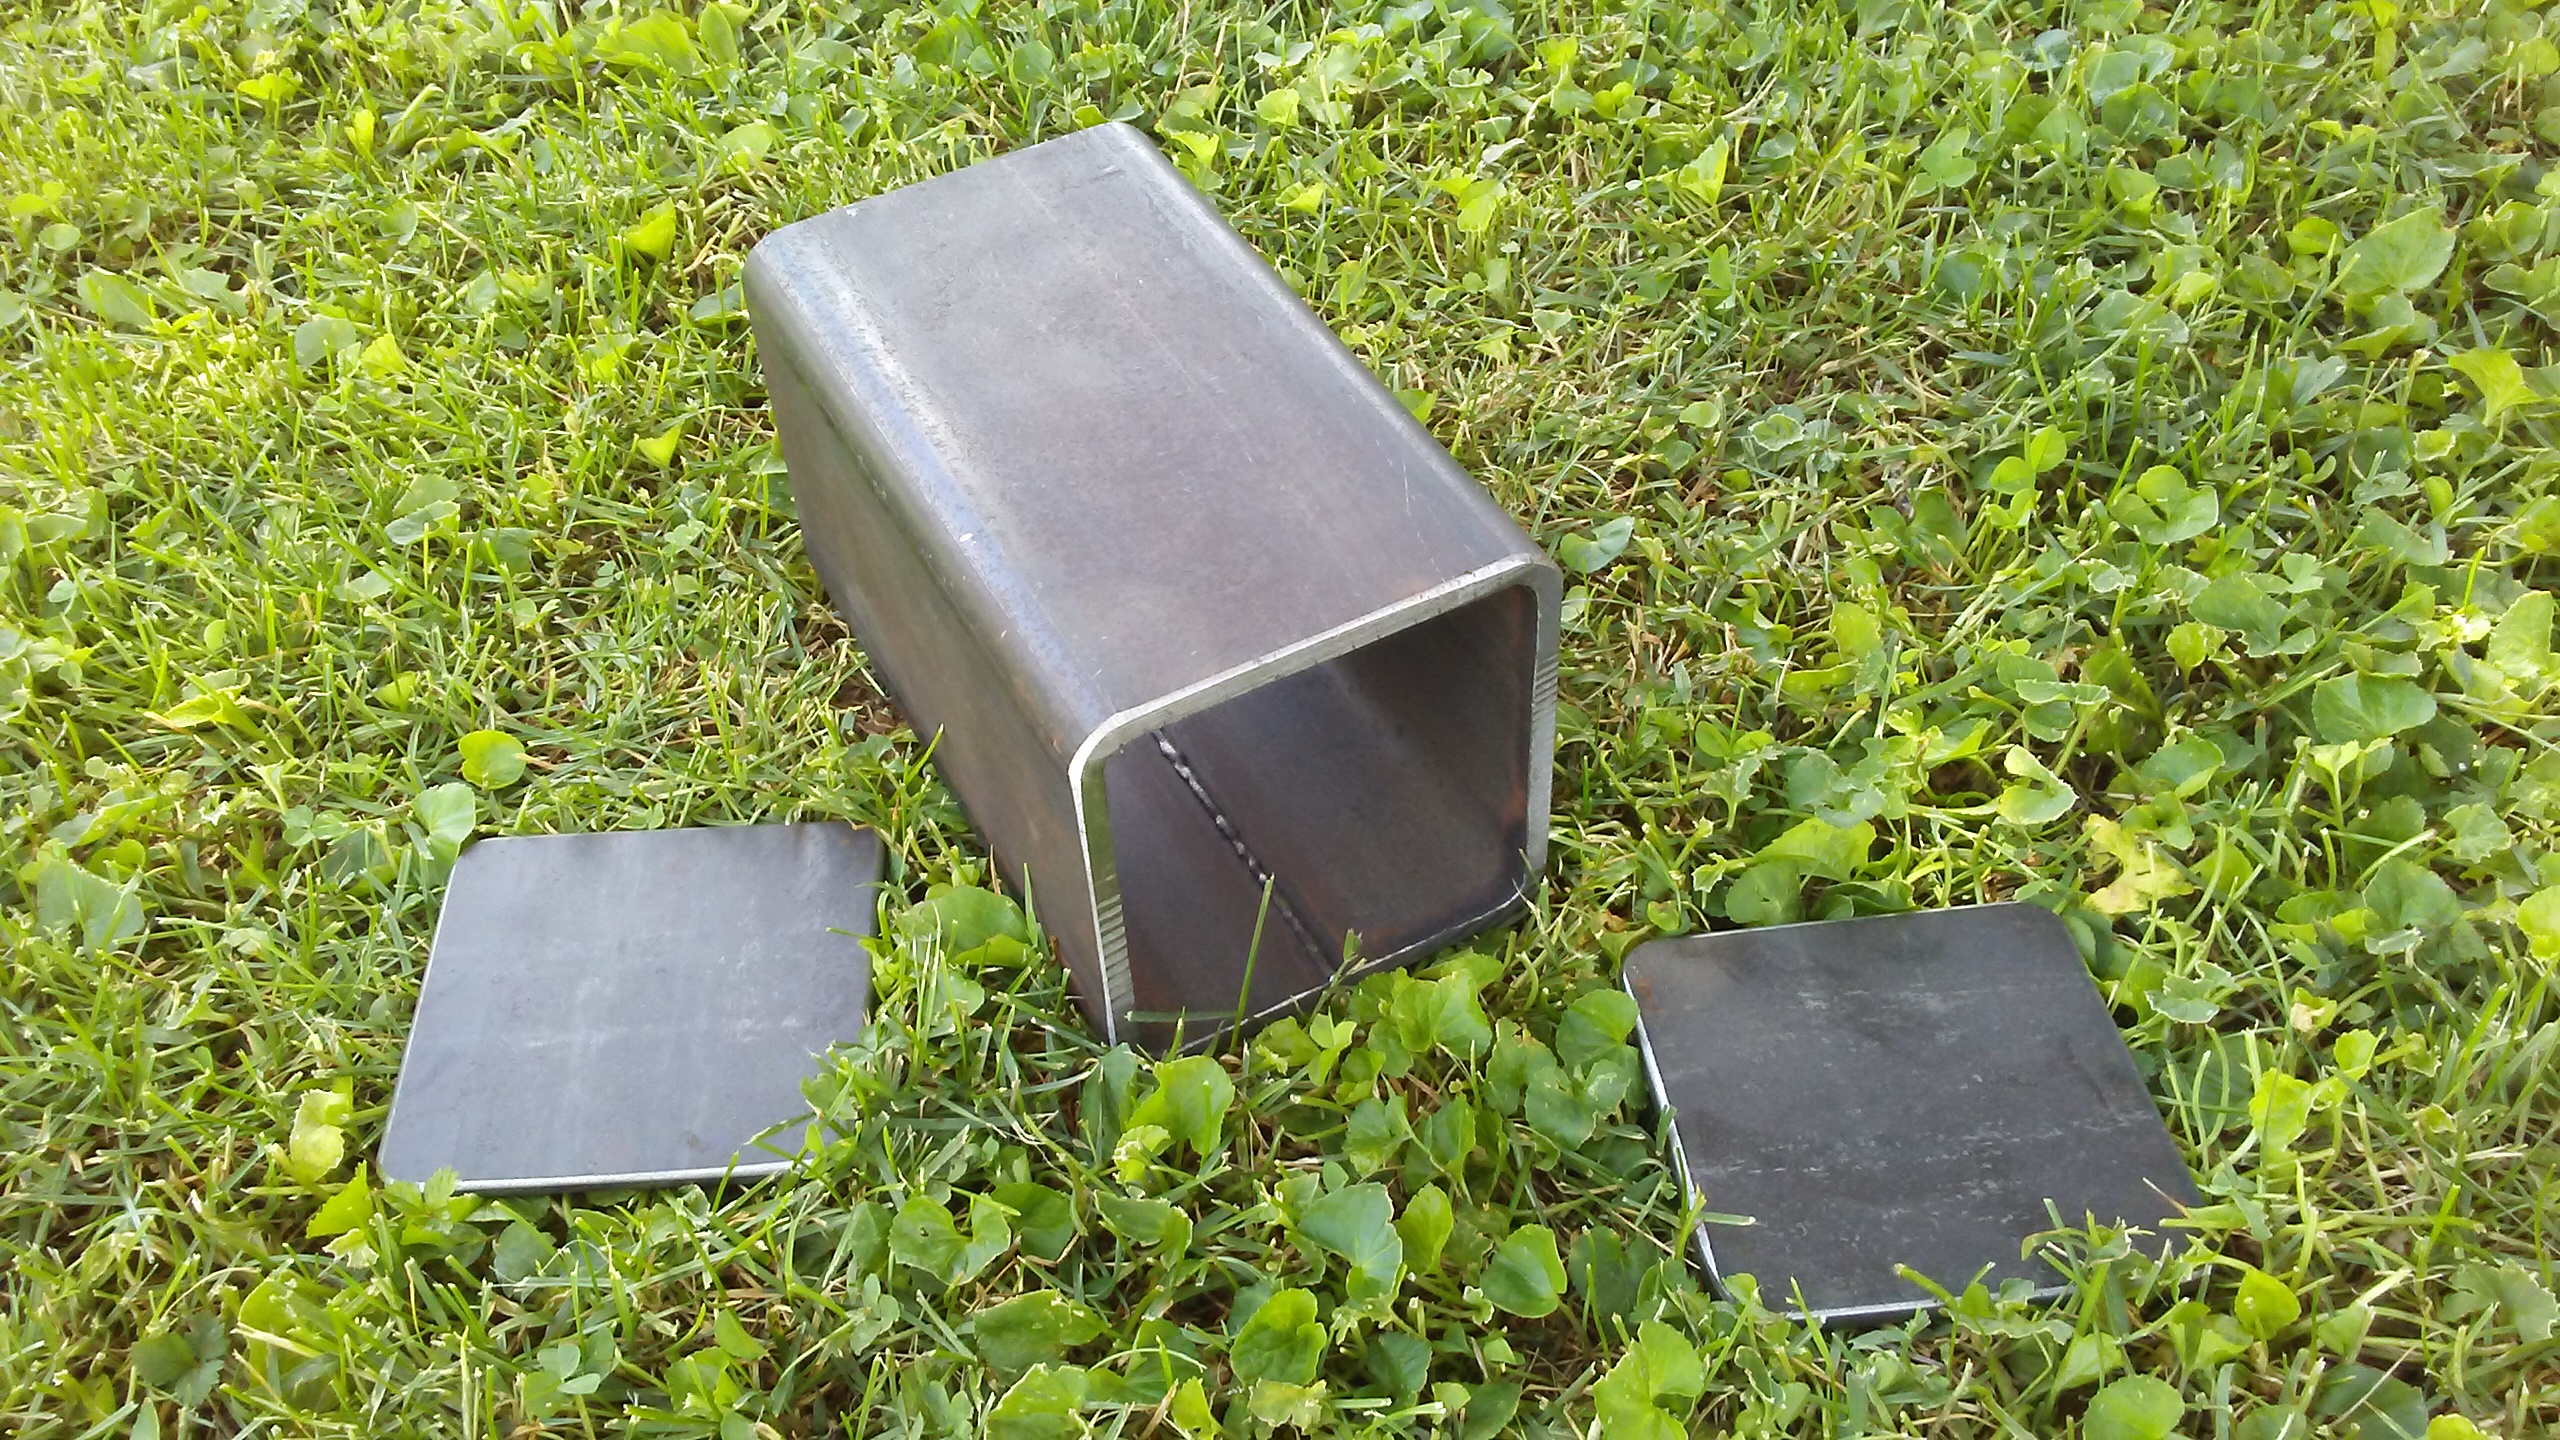
So this piqued my curiosity. I started doing some research and some experimenting, and this is what I’ve come up with. For this project you’ll need access to a welder and an angle grinder, and a visit to your local machine shop for materials. Ideally you’ll want to use stainless steel if you can afford it but for the purposes of demonstration, I’ll be using mild steel because of it’s lower cost. I found a piece of 1/4″ thick square tubing with inside dimensions of 3.5″ and cut it 7″ long. I then used the angle grinder to cut 2 squares, 1/4″ thick and 3.5″x3.5″ and rounded the corners.
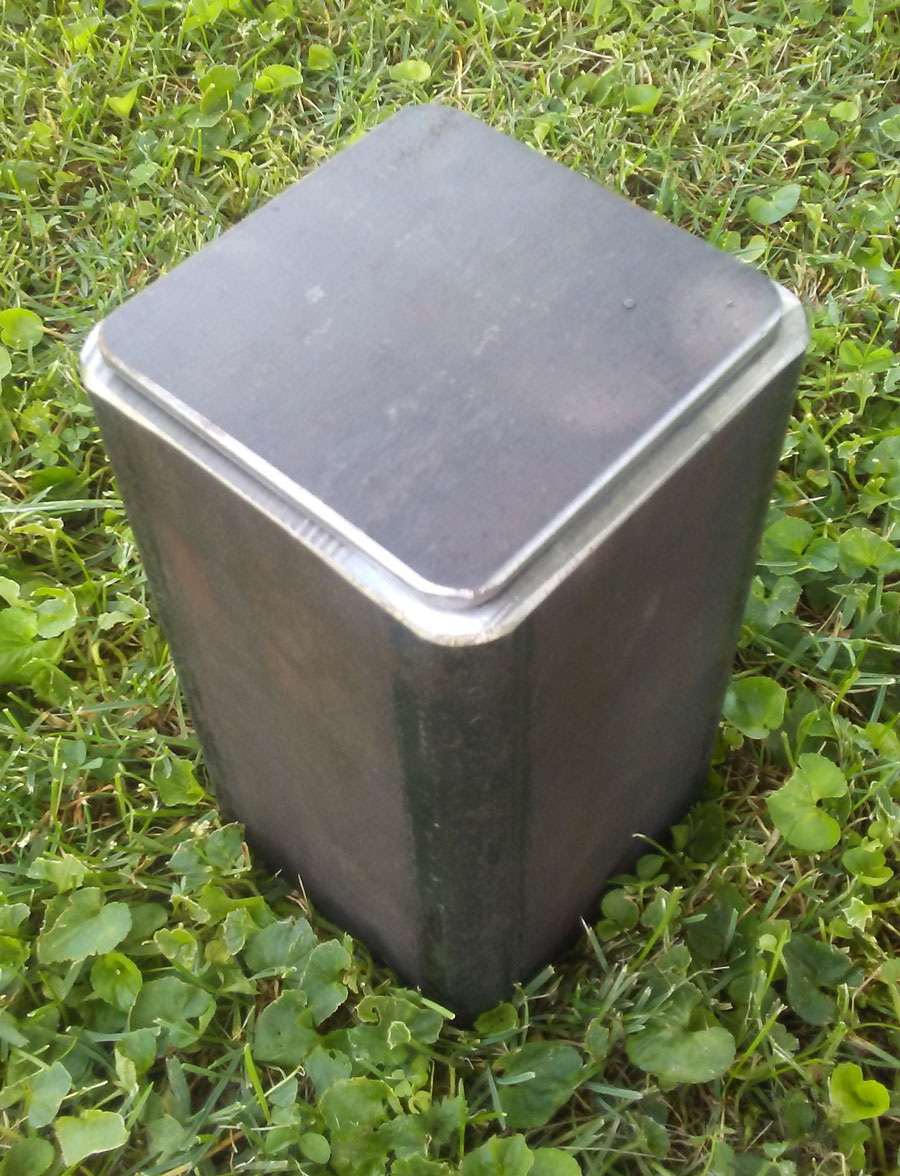
I stood the piece of square tubing upright and welded one of the 3.5″x3.5″ square plates to cover one of the open ends.
As you can probably tell, I’m not a professional welder. But luckily for this project it doesn’t matter because I put a 60 grit flap-wheel on my grinder and ground it down smooth. I checked for air-pockets and slag, re-welded wherever I felt necessary and then ground it down again. You can repeat this process as many times as possible. I ended up with this…
Since one of the inquires about permanent caches mentioned USB drives, I decided to use that for this demonstration. If you’re burying something larger, obviously you’ll need larger pieces of steel. I took 2 USB drives and wrapped them inside two Zip-Loc brand baggies and stuffed them into a large piece of rubber insulation.

I then took the piece of rubber insulation and pushed it into a 1†sleeve of high-temperature heat shielding.
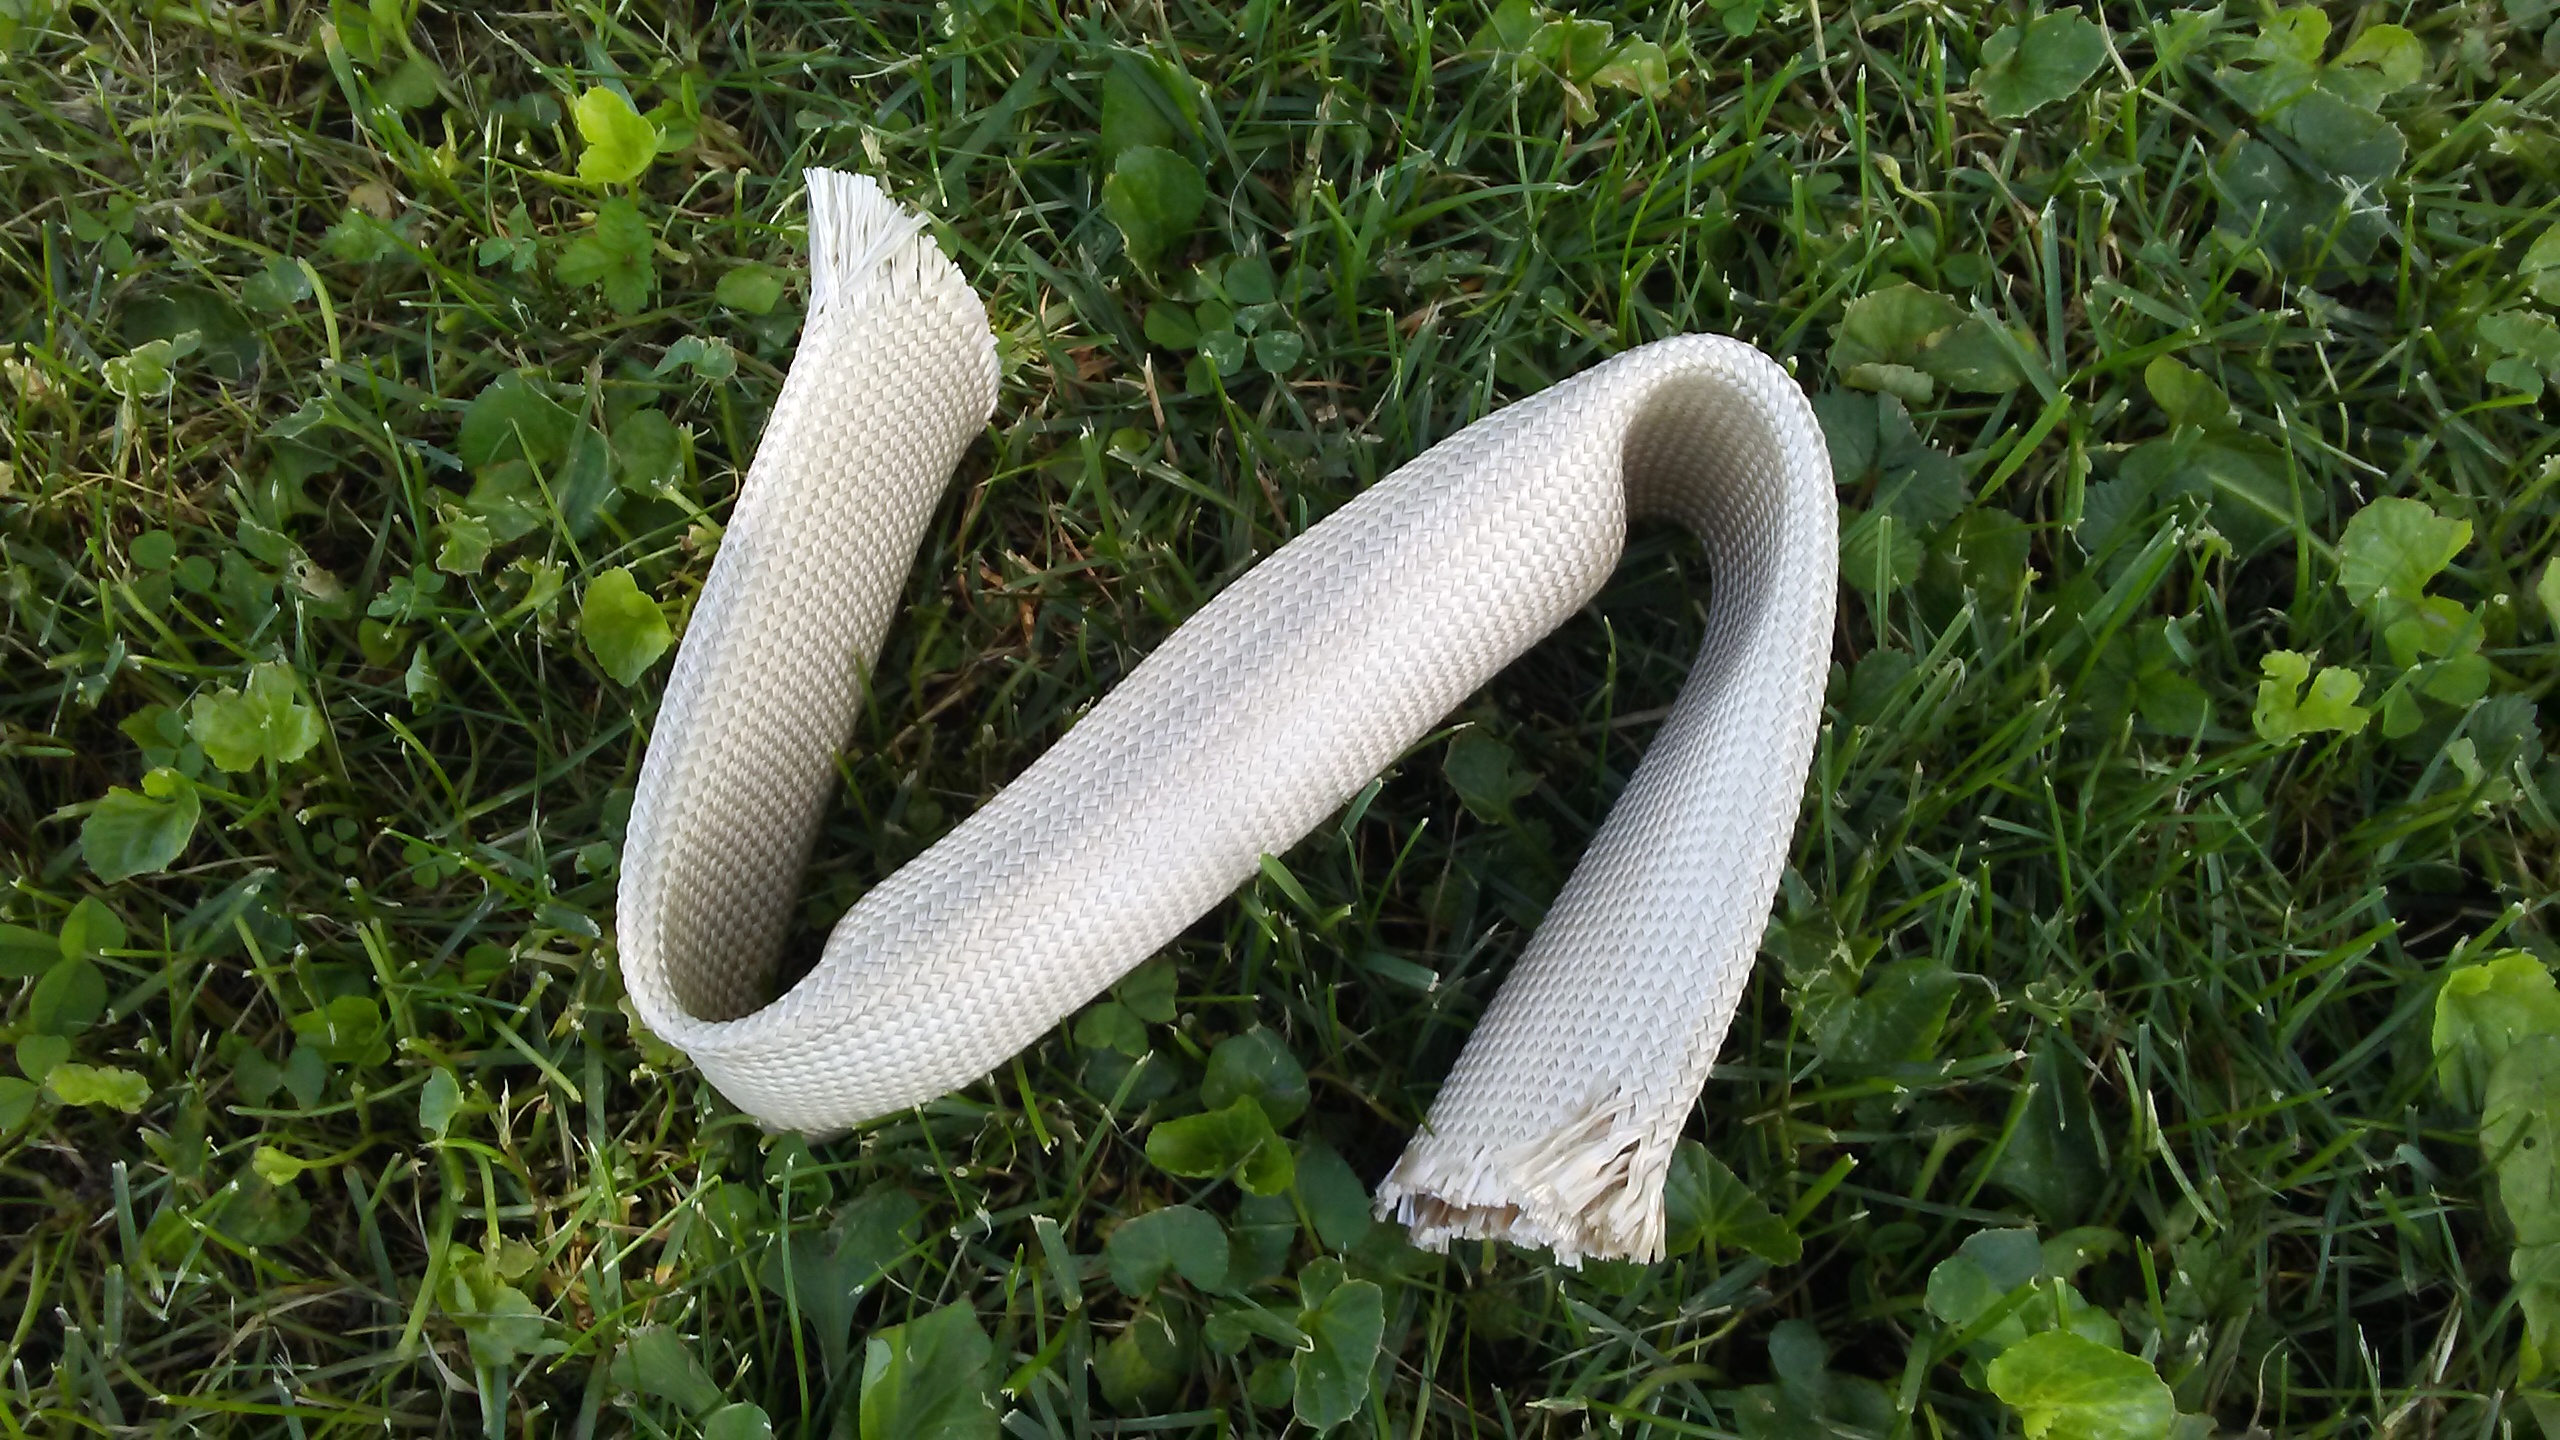
If you’re unsure where to get something like this, Amazon sells something similar here… LAVA Thermal Zero heat sleeve
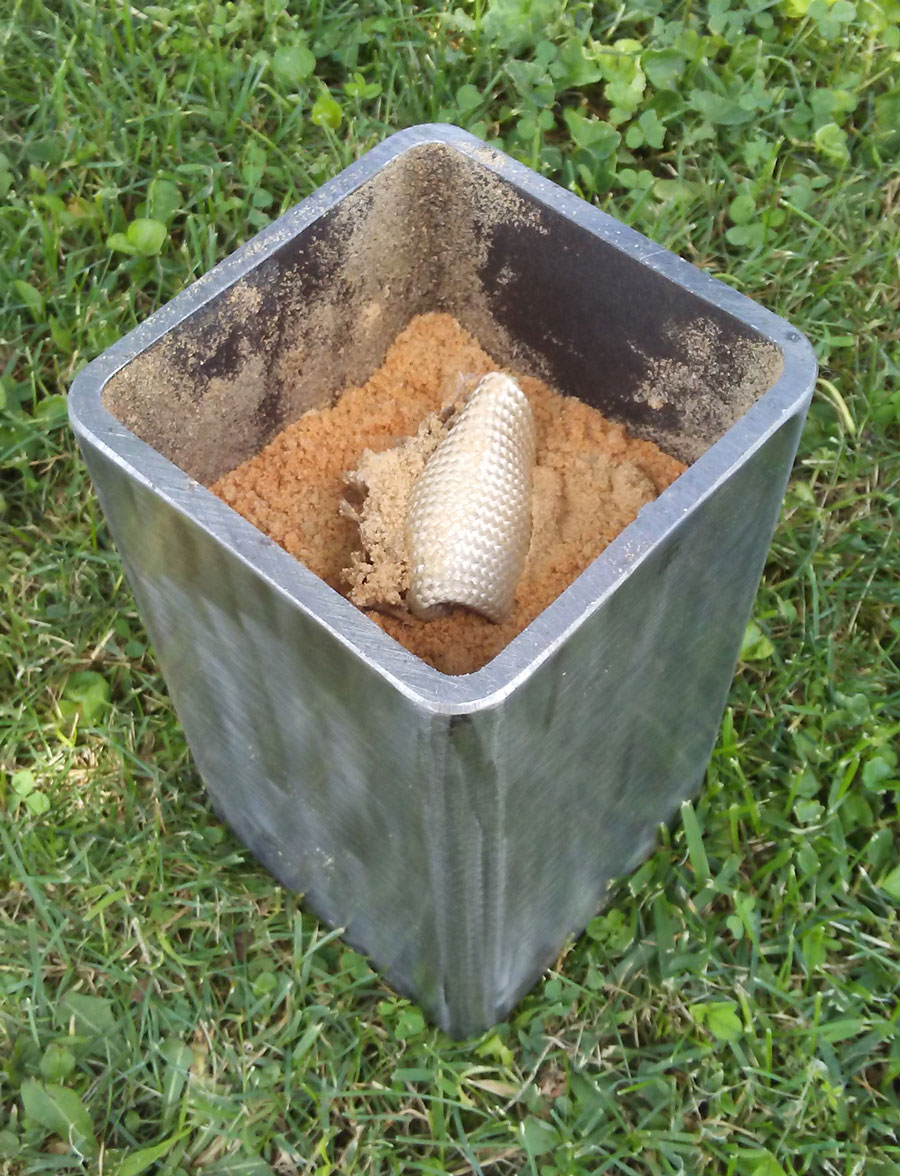
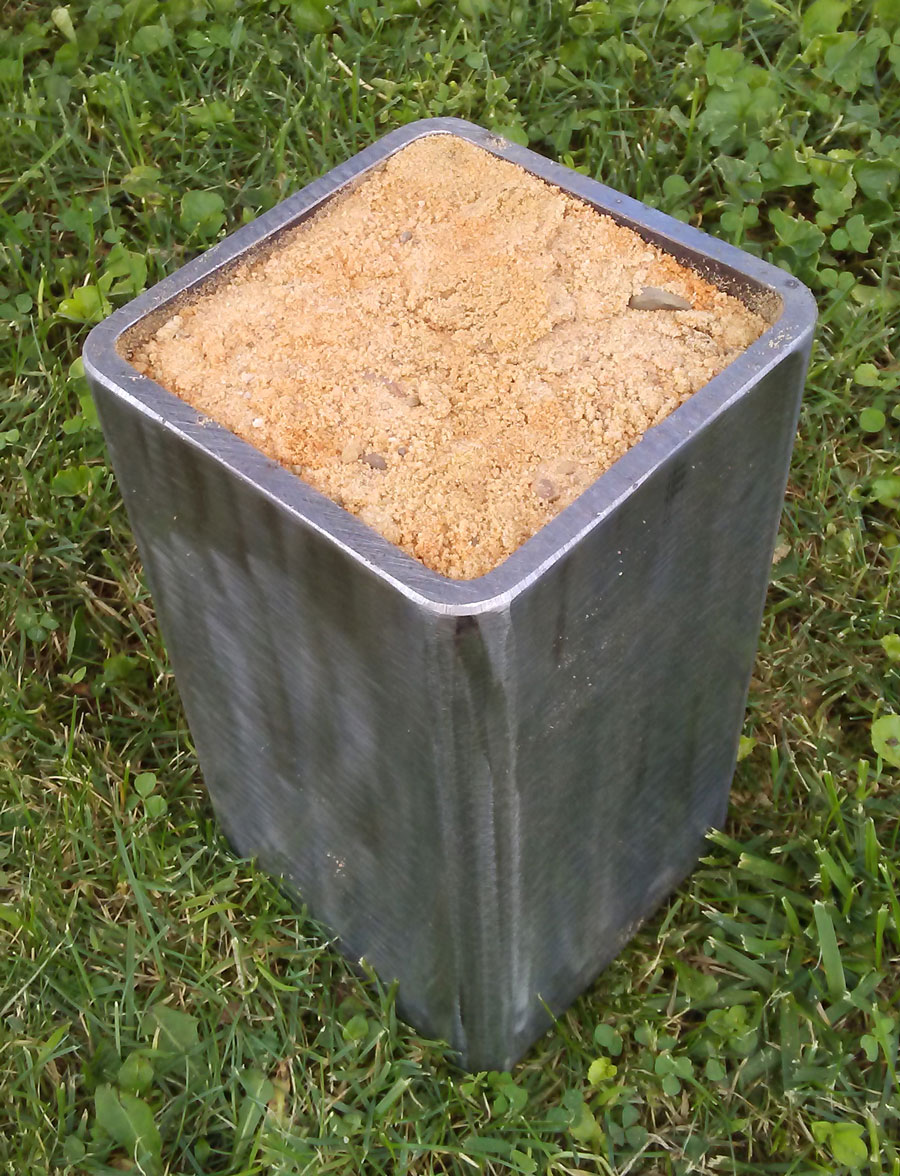
After wrapping the sleeve in electrical tape to hold it together, I poured about an inch of DRY sand into the bottom of the container, held the sleeve upright in the middle and poured sand around it until it was full.
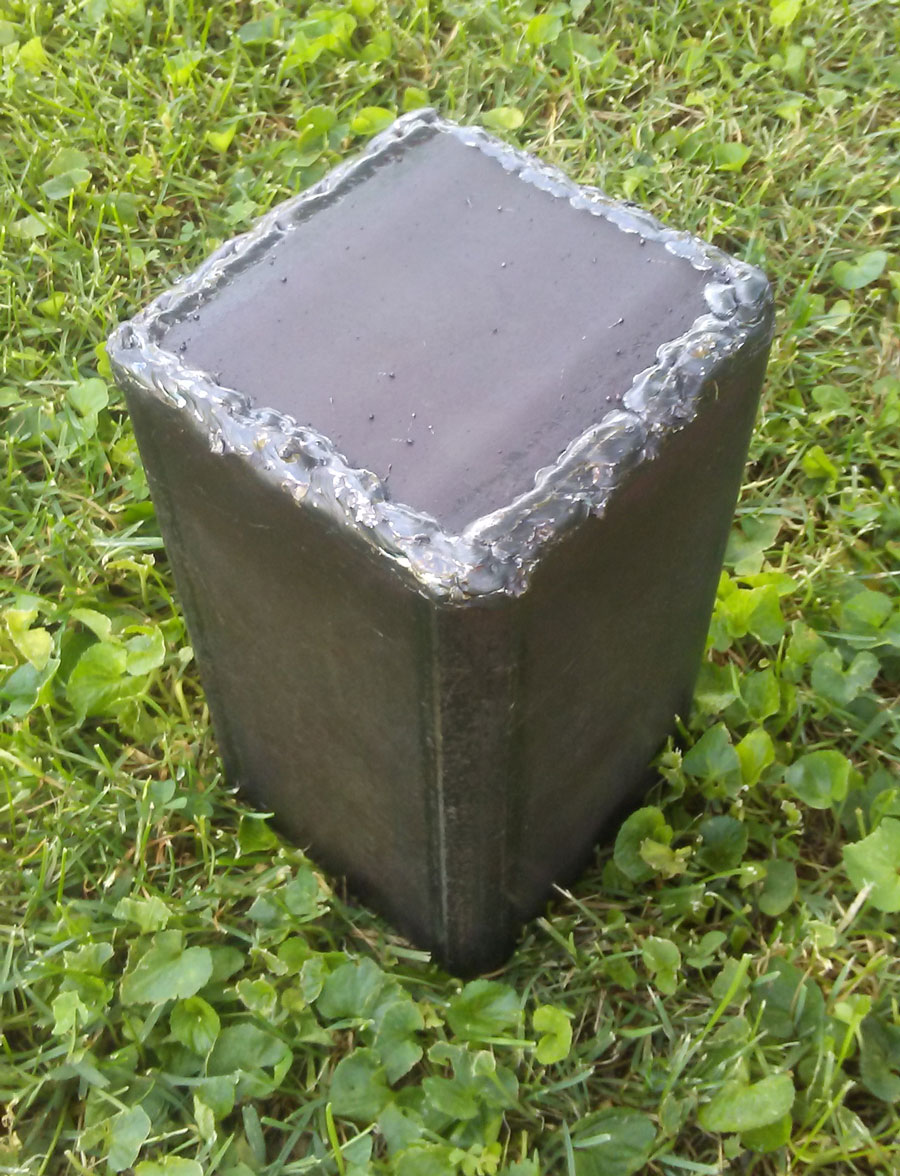
I then placed the second 3.5″x3.5″ square on the other end and welded it in place, sealing the container. I welded a small bead all of the way around as quickly as possible, then poured warm water over the container to cool it down. The sand and the thermal sleeve will act as heat insulators, but I continued to weld a little at a time and then pour warm water over the project to keep it cool.
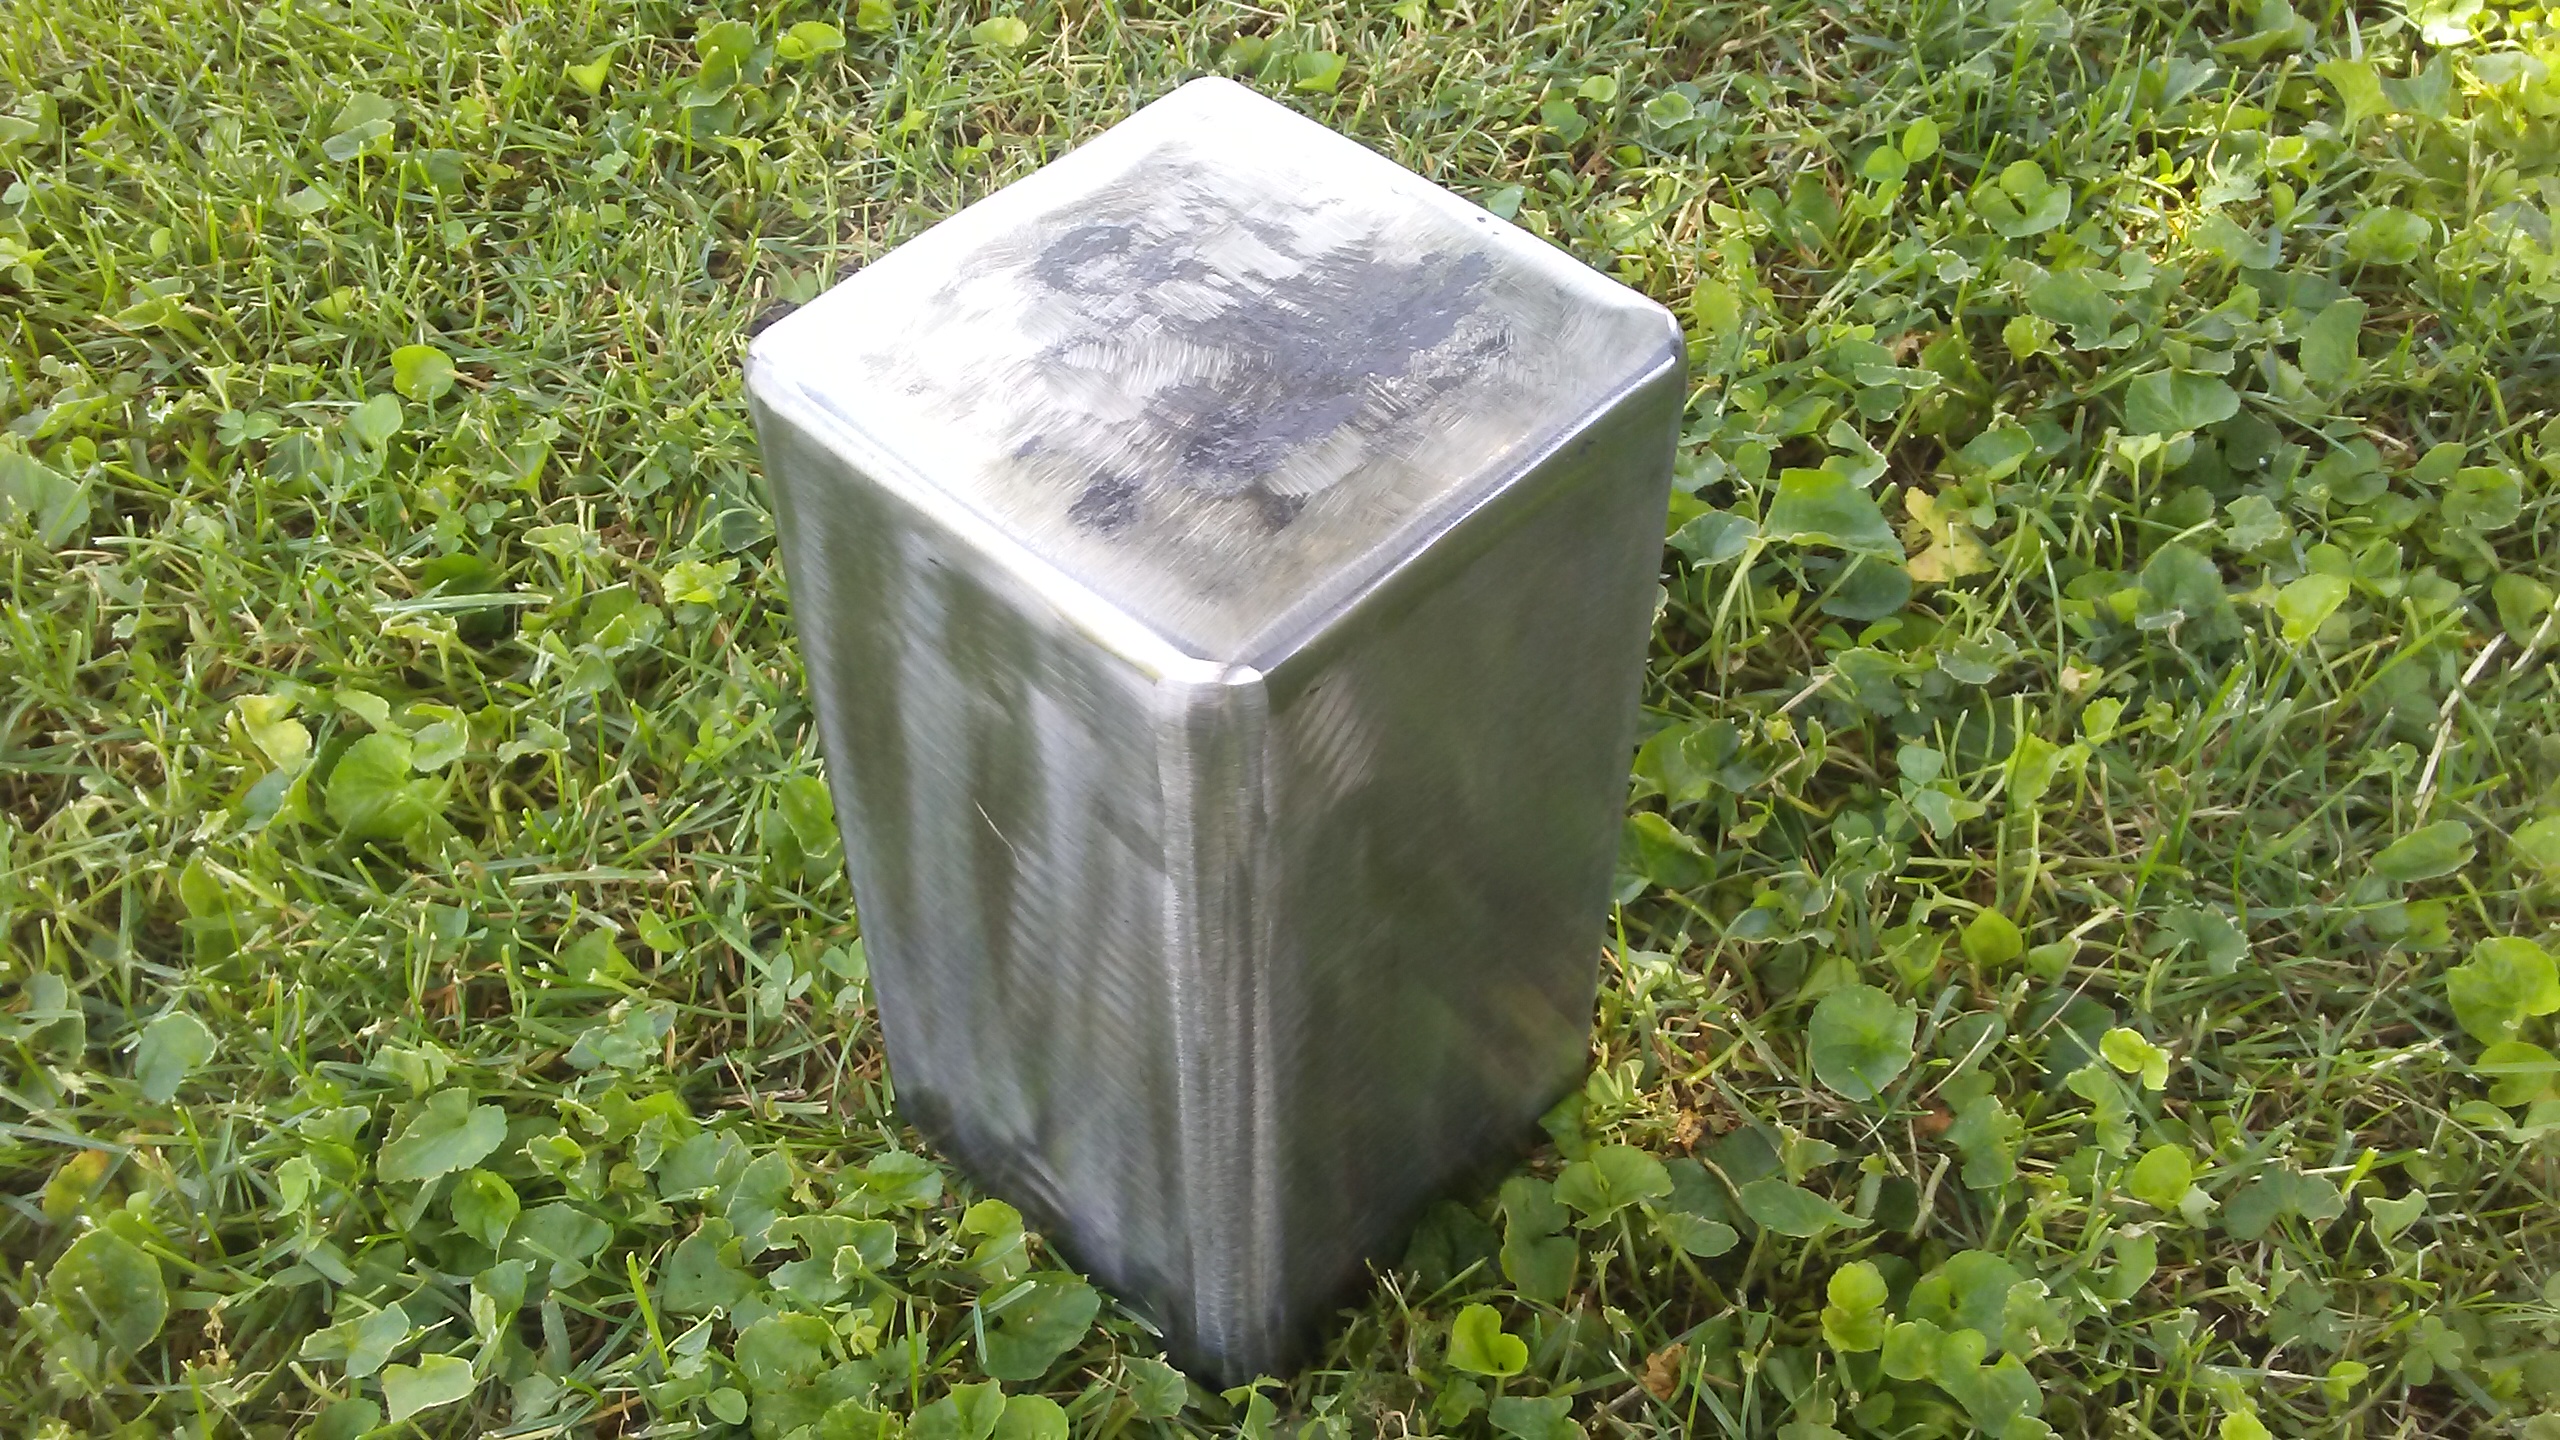
After welding, I started grinding with the flap-wheel again. I repeated the same process, grinding a little and then pouring water to keep the temperature down. I had to re-weld and then re-grind one spot, and this was my finished project.
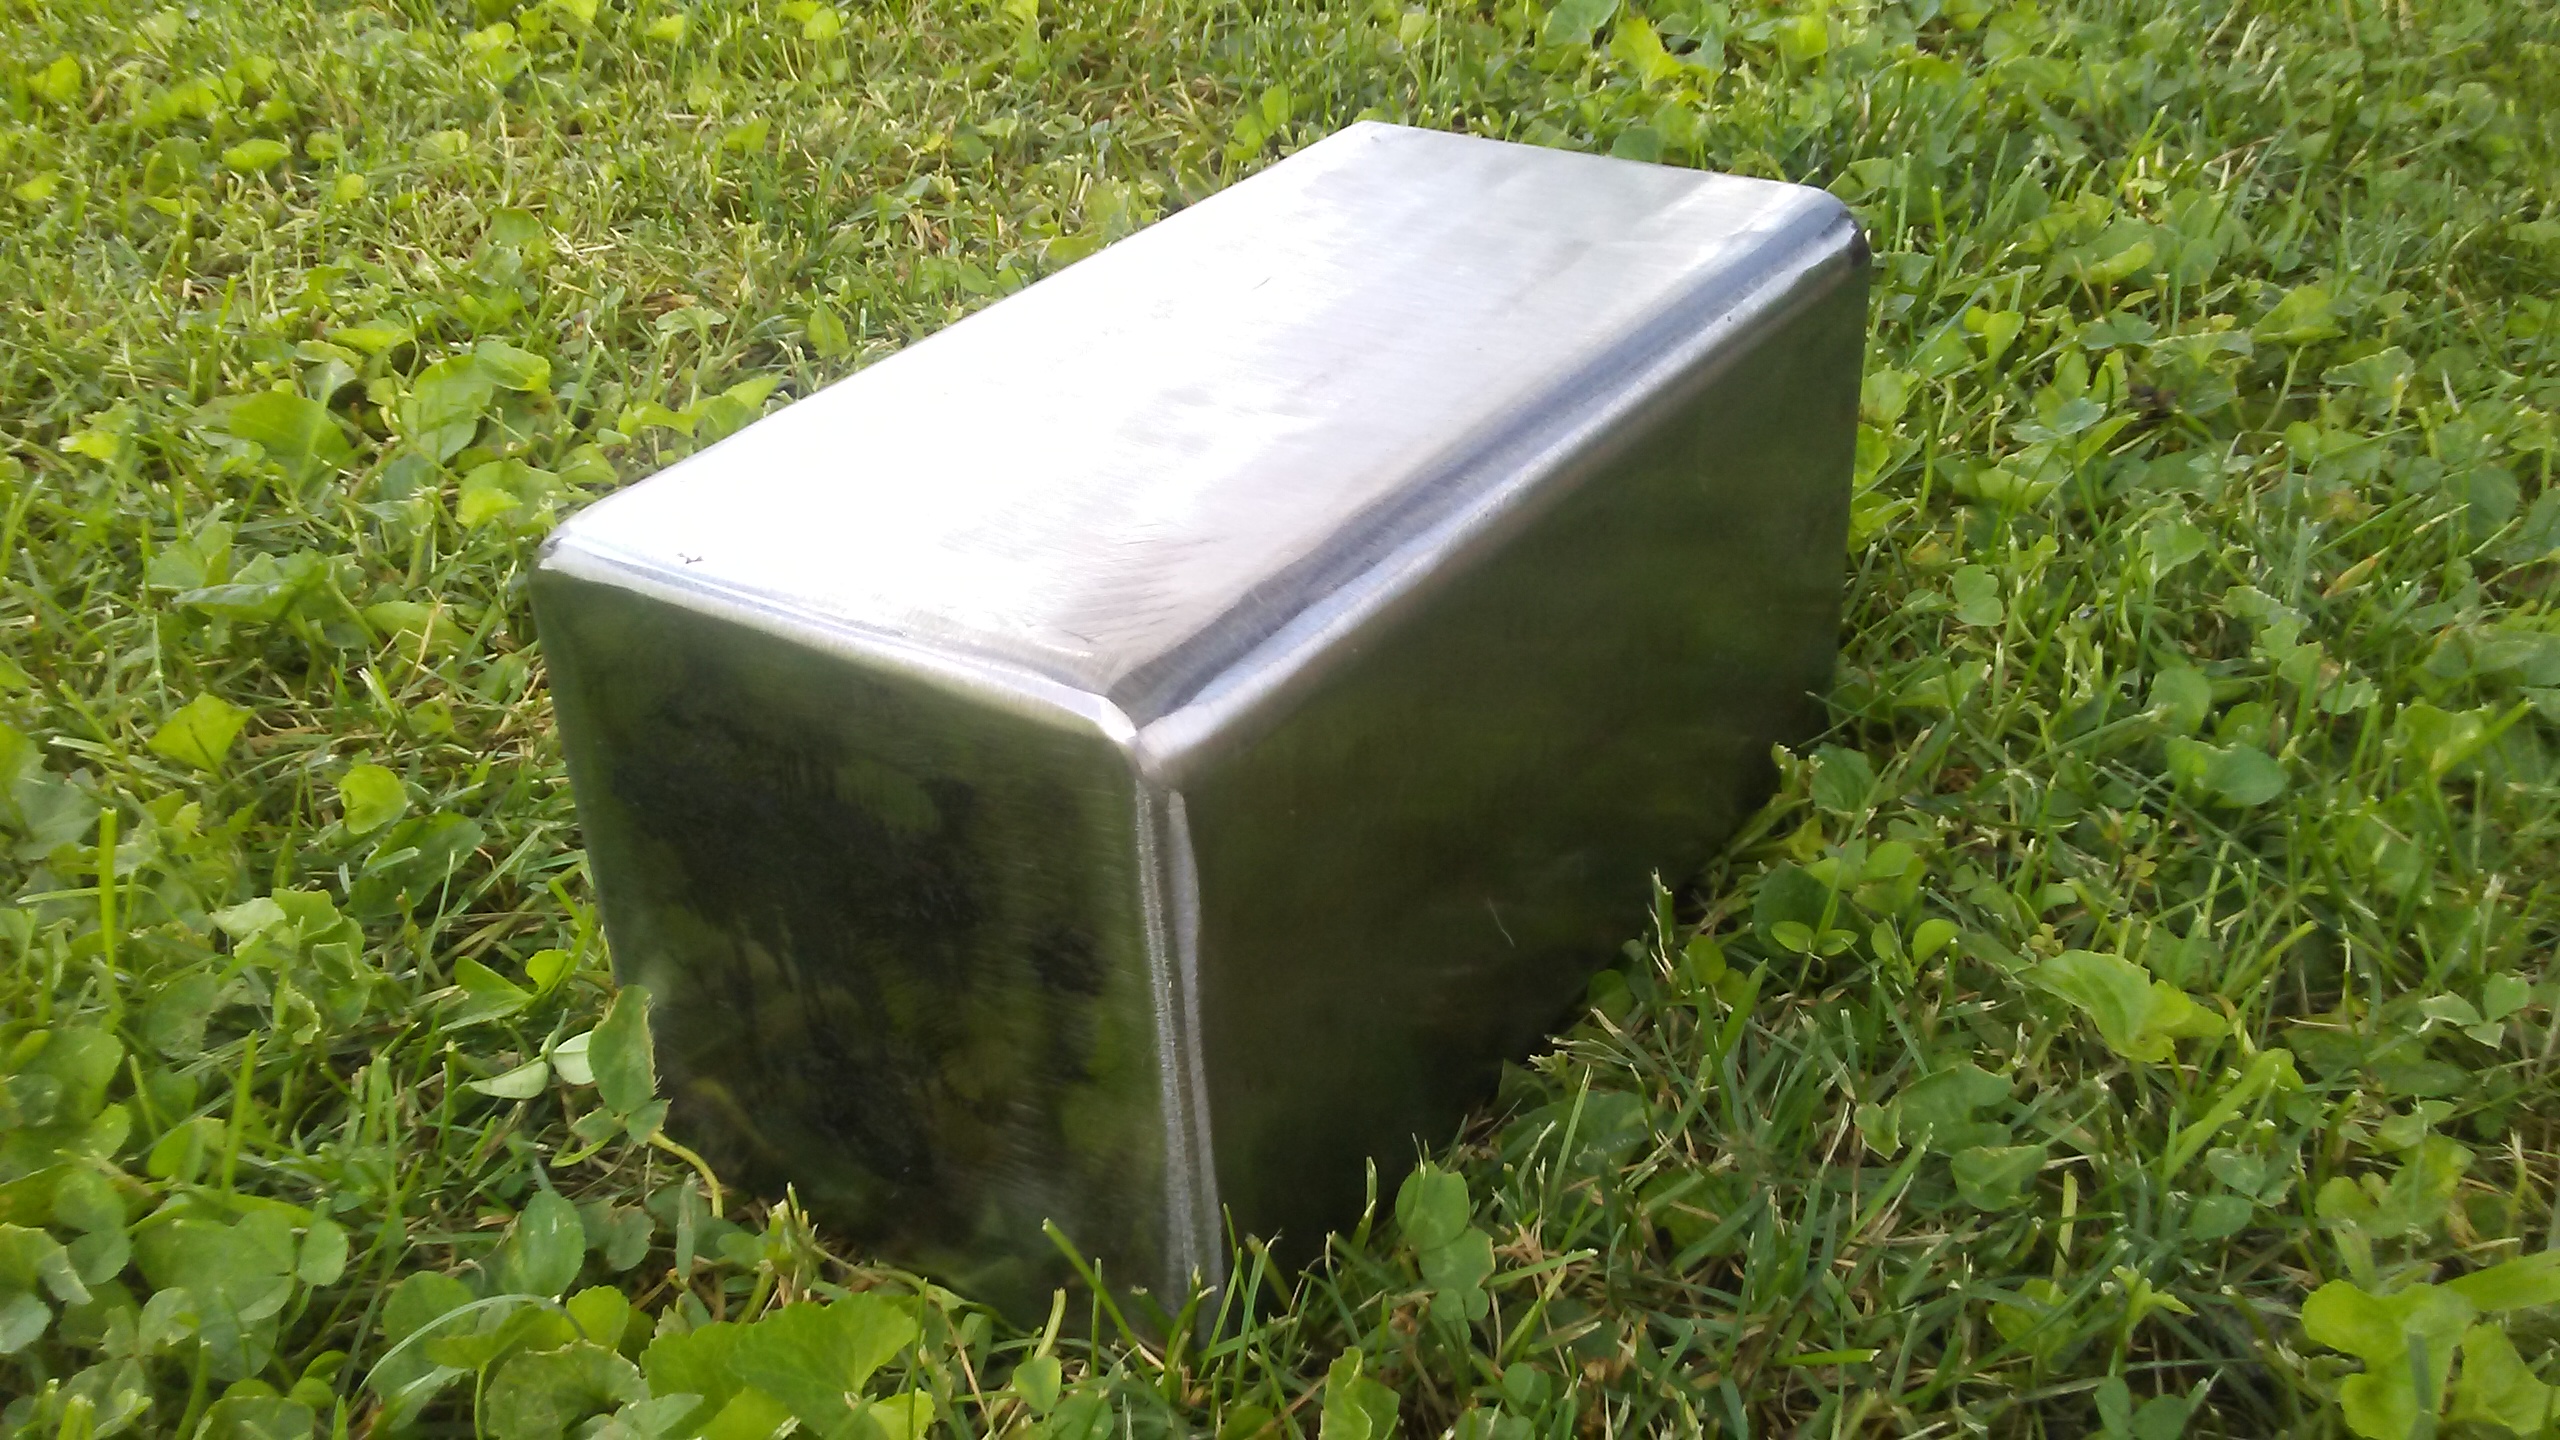
The end result is a steel box 1/4″ thick. If you used stainless steel, then this would be the completed project. If you used mild steel like I did, then you’ll need to keep it from rusting and you have two options. You can clean it with isopropyl alcohol and put several coats of epoxy-based paint over it, or you can cover it with wheel bearing grease and wrap it in plastic. If you paint it, wear latex gloves when cleaning it and don’t use cheap paint. If you grease it, use lots of grease. Either method will prevent rust indefinitely. No matter which method you use, always wrap it in something to protect the paint or the grease. Without a protective wrapping, the paint could scratch or the grease could soak into the surrounding dirt or clay.
You now have a cache that should be able to withstand several decades underground and is incredibly tough. While underground, it will protect your electronics from electromagnetic pulse and should be able to withstand most small-arms gunfire and small explosions. Keep in mind that this cache will be almost impossible to open without both electricity and power tools, so I would recommend burying it with two hacksaws and at least two dozen blades for those hacksaws as a precaution. Make sure that you bury your tools properly so that they don’t rust. It wouldn’t hurt to cover them in grease also, then place them inside a military-issue ammo can. You’ll want to use a 40mm ammo can as they’re plenty long enough for hacksaws and blades.
Bury the steel box and your tools as deep as possible. I would recommend keeping the top of the containers at least 6 inches below your local frostline. If you’re never going to check on it, there’s a reasonable chance that you’ll forget where it’s at and this is the only time that I might recommend using some sort of marker; a large rock for example, to help you (or whoever) find it. Or a map perhaps, that only you can understand.
Just an FYI, since the technology used in the memory cells of USB drives isn’t very old, no one really knows how long the data will be retained intact. Bury a drive for 30 years and it MIGHT still have your data.
After completing this project, I did cut the container open again and both USB drives functioned flawlessly. Make sure that you use the thermal wrap and dry sand. If you use this method to bury guns and ammunition, be careful with the welder, as the container heats up quickly. Obviously the same goes for documents or any flammable products.
One advantage to this method is that you can choose the size and shape of your container, and you can also use different thicknesses of steel. Want to use 1/2″ steel? Go right ahead, just remember it will be that much harder to cut open if or when that time ever comes. I honestly don’t recommend this option for caching because of the fact that you can’t visibly check your items once a year or so; but it is a viable method and it will protect your valuables quite well.
Comments are currently closed.
NOW AVAILABLE!!!
 Support our site and get a printer friendly version of our Guides to print or view on your mobile phone or tablet where ever you go.
Also includes Bonus Information not found on our site.
-
Recent Posts
- Permanent caches: For the “Long Haul”
- What to Bury: A Guide for New Preppers
- How to Bury a Laptop – A Step-by-Step Guide
- How to Bury Food
- Guide to Military Surplus Ammo Cans
- Underground Fuel Storage
- Tricks and Tips for Caching
- My Personal Cache – A Step-by-Step Guide
- Helpful Links and Other Resources