How to Bury a Laptop – A Step-by-Step Guide
Because no one can take what they cannot find
In October 2012, I purchased an HP model 2000 laptop with the new Windows 8 OS and like many other customers, immediately hated it. I fooled around with it for a day or two, decided it wasn’t for me and had a friend install the Nadia release of Linux Mint. At the time I was toying with the idea of launching this website and since it was purchased as a spare computer anyway, decided to do a little experiment. On the fifth of November, Guy Fawkes Day 2012, I cached the new HP notebook in my girlfriend’s garden and left it there for an entire year. I had never buried an entire computer before and thought it might make a good test for my Bell Method.
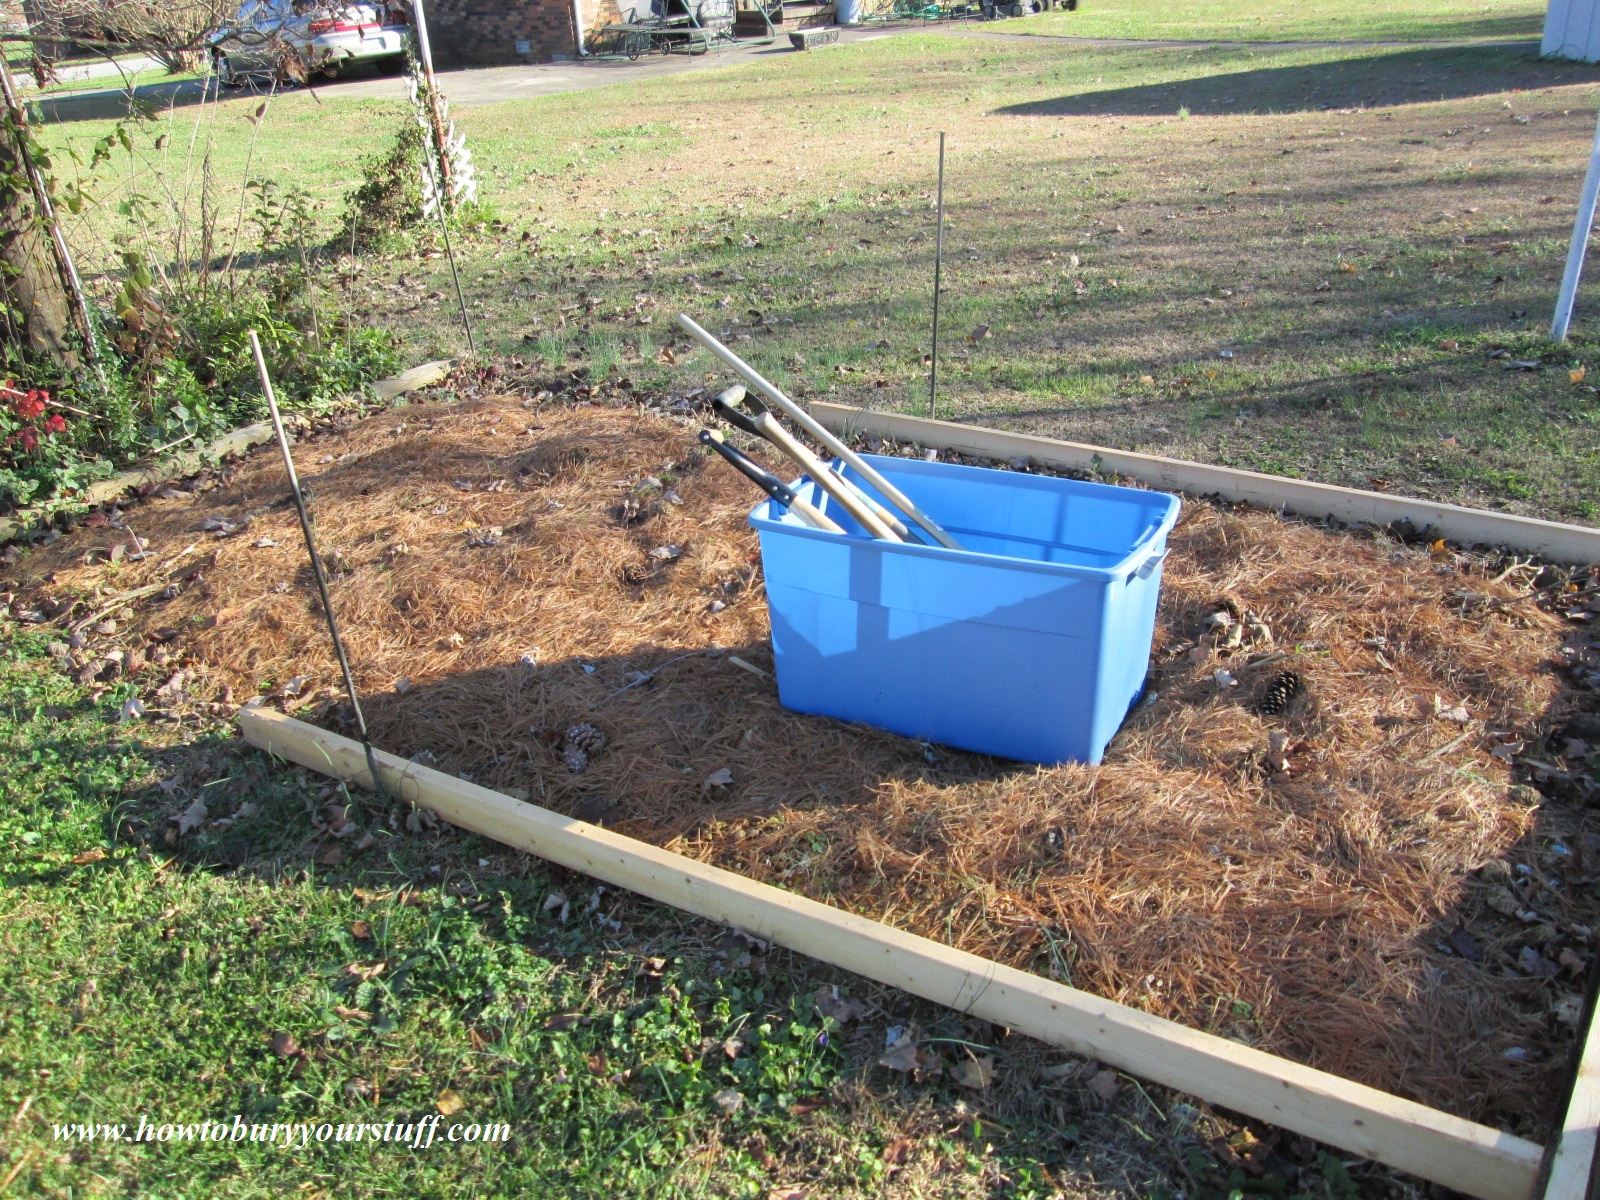
Usually a step-by-step guide would normally follow a certain chronological order but I’m afraid that the order is going to be reversed for this project. Please note that I am documenting a recovery, not a burial. I did not use desiccant or even waterproof containers; the computer itself was not sealed in any way and was not even placed in an air-tight container. In this instructional, I will be showing exactly how it was done and exactly how effectively and easily my Bell Method can be employed. Below you can see a photograph of my girlfriend’s garden where the computer has spent the last year.
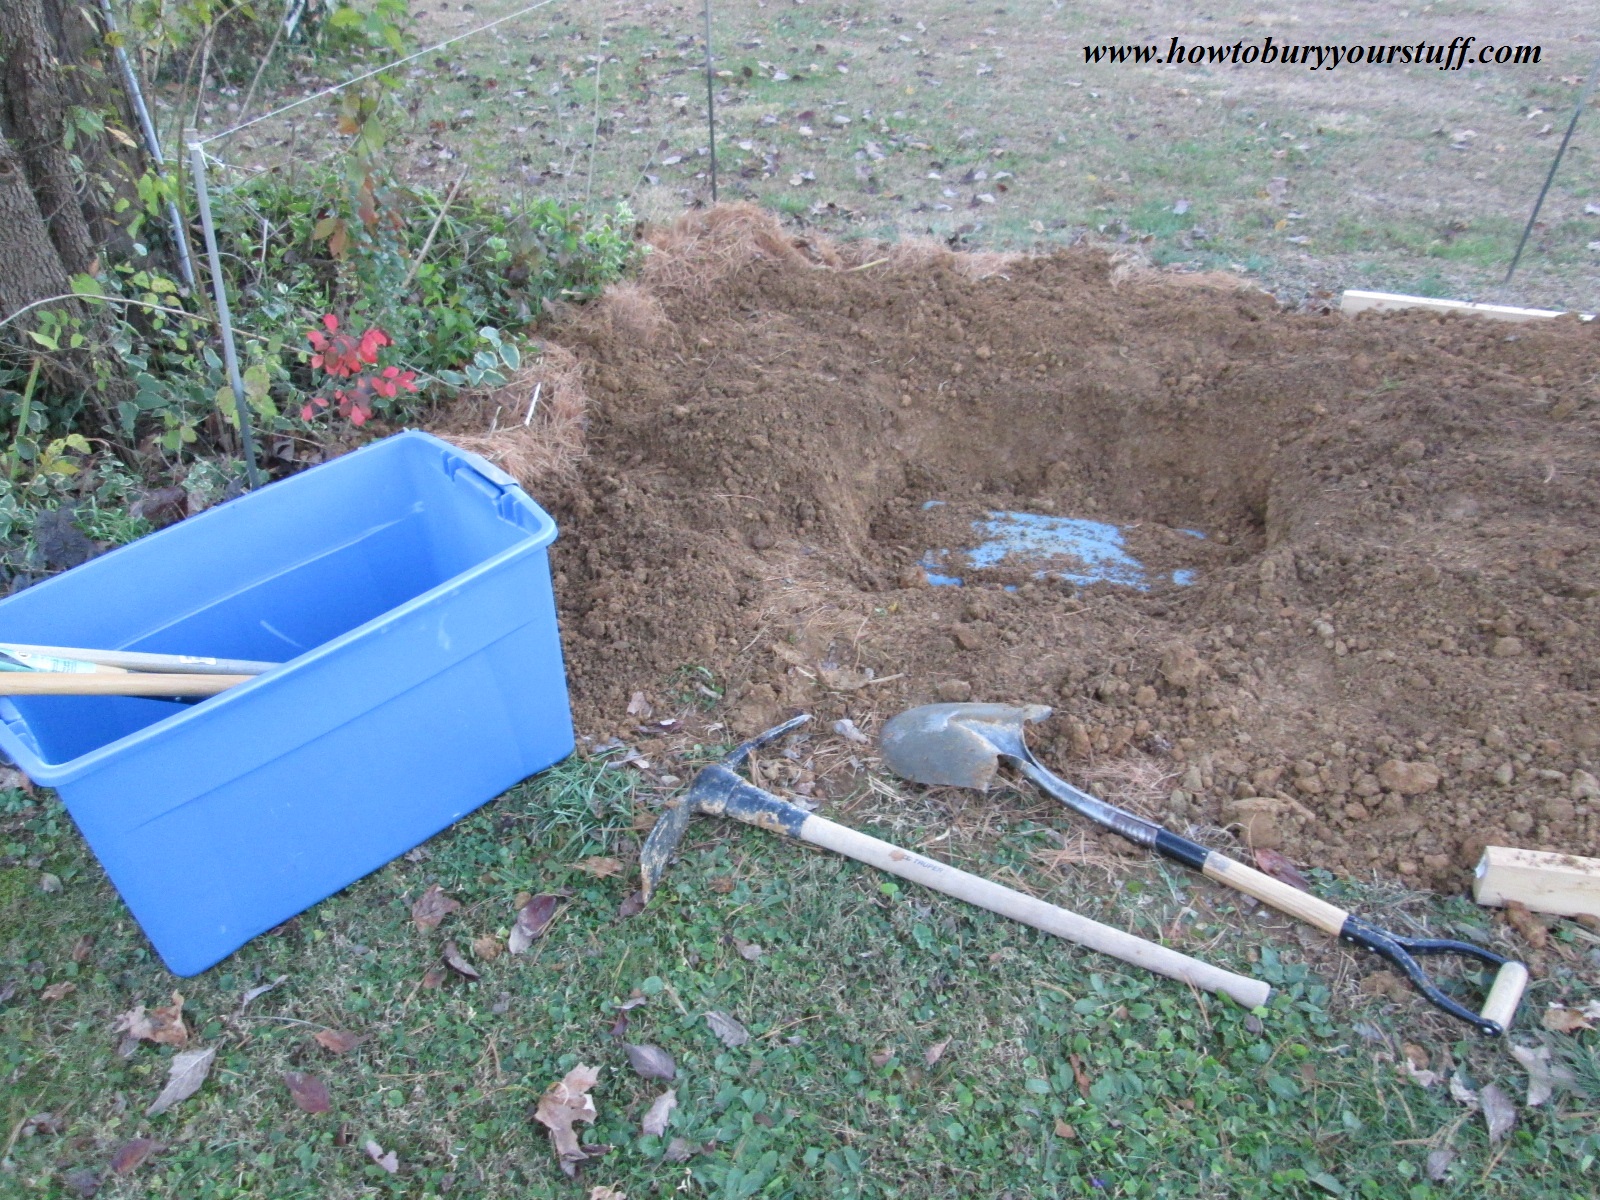
 Because of rain and storms, I was unable to retrieve the laptop on the exact anniversary of the fifth of November. It’s now two days later and here goes; I’ve retrieved my geocaching tools from the garage and now it’s time to commence with the digging.
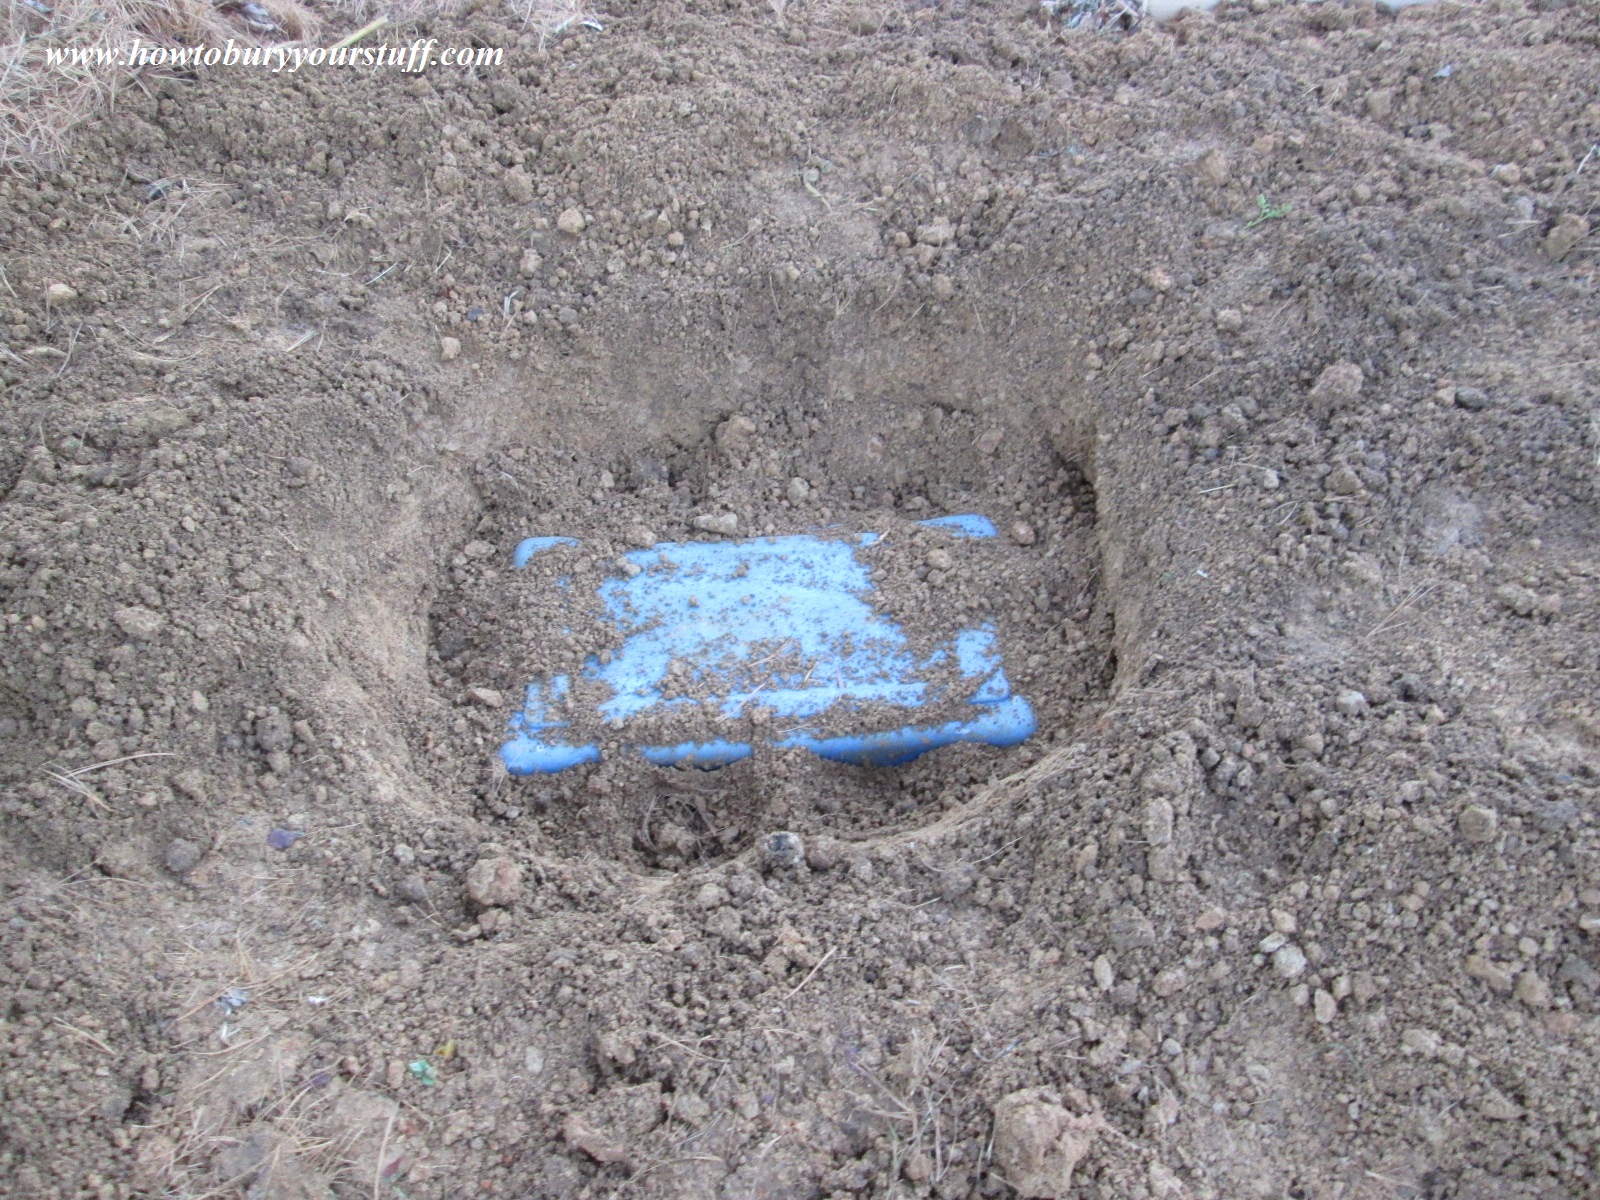
 After about 20 minutes of back-breaking labor (yes, I’m getting too old to be digging holes) I’ve uncovered the bottom of a large blue Tupperware storage tote that I used for a Bell. Inside the Bell is a clear plastic Sterilite tote that contains the laptop itself.
 After more digging, prying and some tugging, I was able to remove the large tote from its hole and open it up to show exactly what I had done a year ago to protect my new laptop. The photos below show how the cache was arranged before I dug it up and retrieved it. The top of the Bell (bottom of the tote) was about 12 inches down and I used two concrete stepping stones to keep the smaller Sterilite container above any water that might’ve entered the bottom of the cache. As you can see in the following photos, water and dirt did in fact enter the bottom of the Bell. For the record, using the stepping stones was completely unnecessary since the laptop’s clear Sterilite container would float anyway; and yes, I tested it with the laptop in the bathtub last year before I buried it.
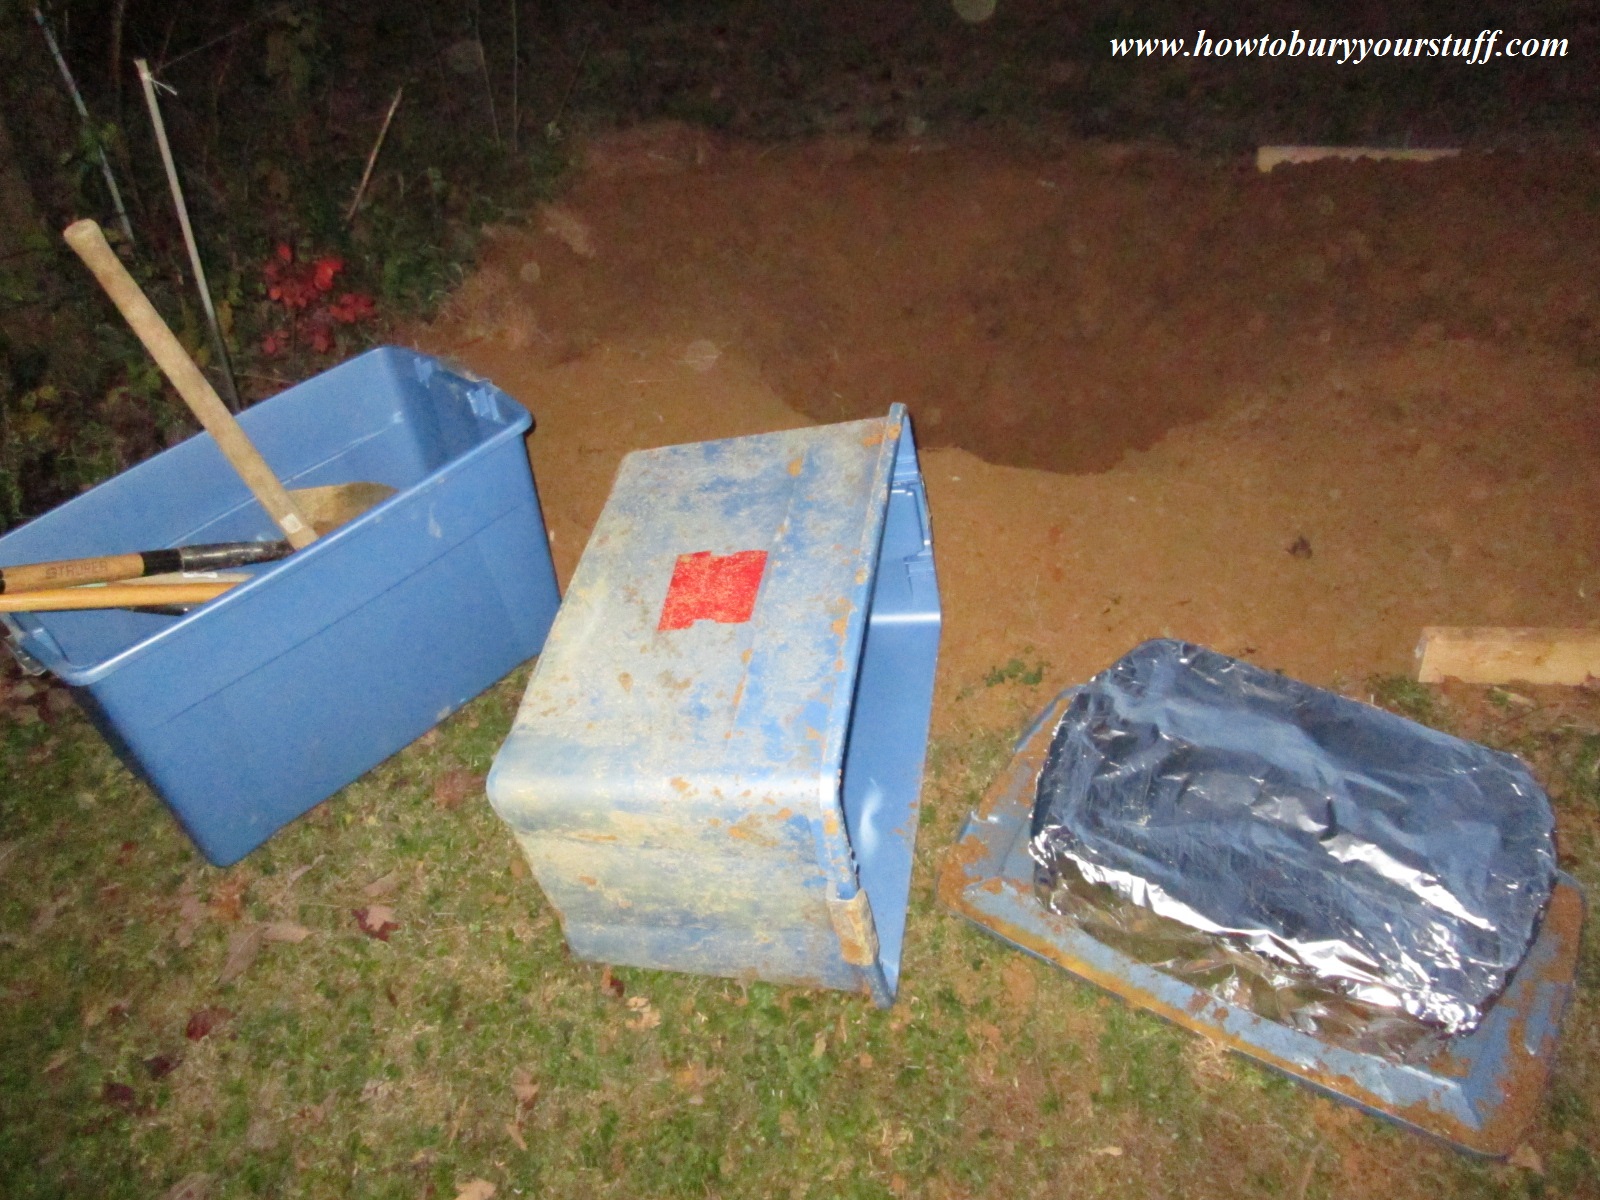
 The laptop itself was wrapped in bath towels to act as insulation against rapid changes in temperature. The wrapped notebook was then placed inside a smaller Sterilite container which was covered in aluminum foil to help shield against EMP or any other electrical surge. Although aluminum is commonly used by preppers to shield against EMP, I strongly recommend using it in conjunction with copper mesh. Copper is the better conductor and is a better material for the construction of a Faraday Cage.
 >> Click here to get current pricing and reviews from Amazon.com on copper mesh <<
Once liberating the aluminum-foil-covered Sterilite container from the blue tote, I removed the aluminum foil and carried it inside the house WITHOUT opening it. I placed it on the floor of our spare bedroom for 24hrs to allow for a slow temperature adjustment after bringing it in from the cold. If it can be avoided, never bring electronics, ammunition, documents or firearms into a warm house from cold weather without insulation; the rapid increase in both temperature and humidity will cause condensation to form in places that you don’t want moisture to be. This condensation won’t cause any immediate damage but will eventually shorten the life of your computer, firearm, digital camera, ammunition etc.
 The following day, (8 Nov) after much anticipation and apprehension, I opened the Sterilite tote, unwrapped the notebook from the bath towels and powered the computer up. The battery was completely dead so I had to plug it into an AC outlet.
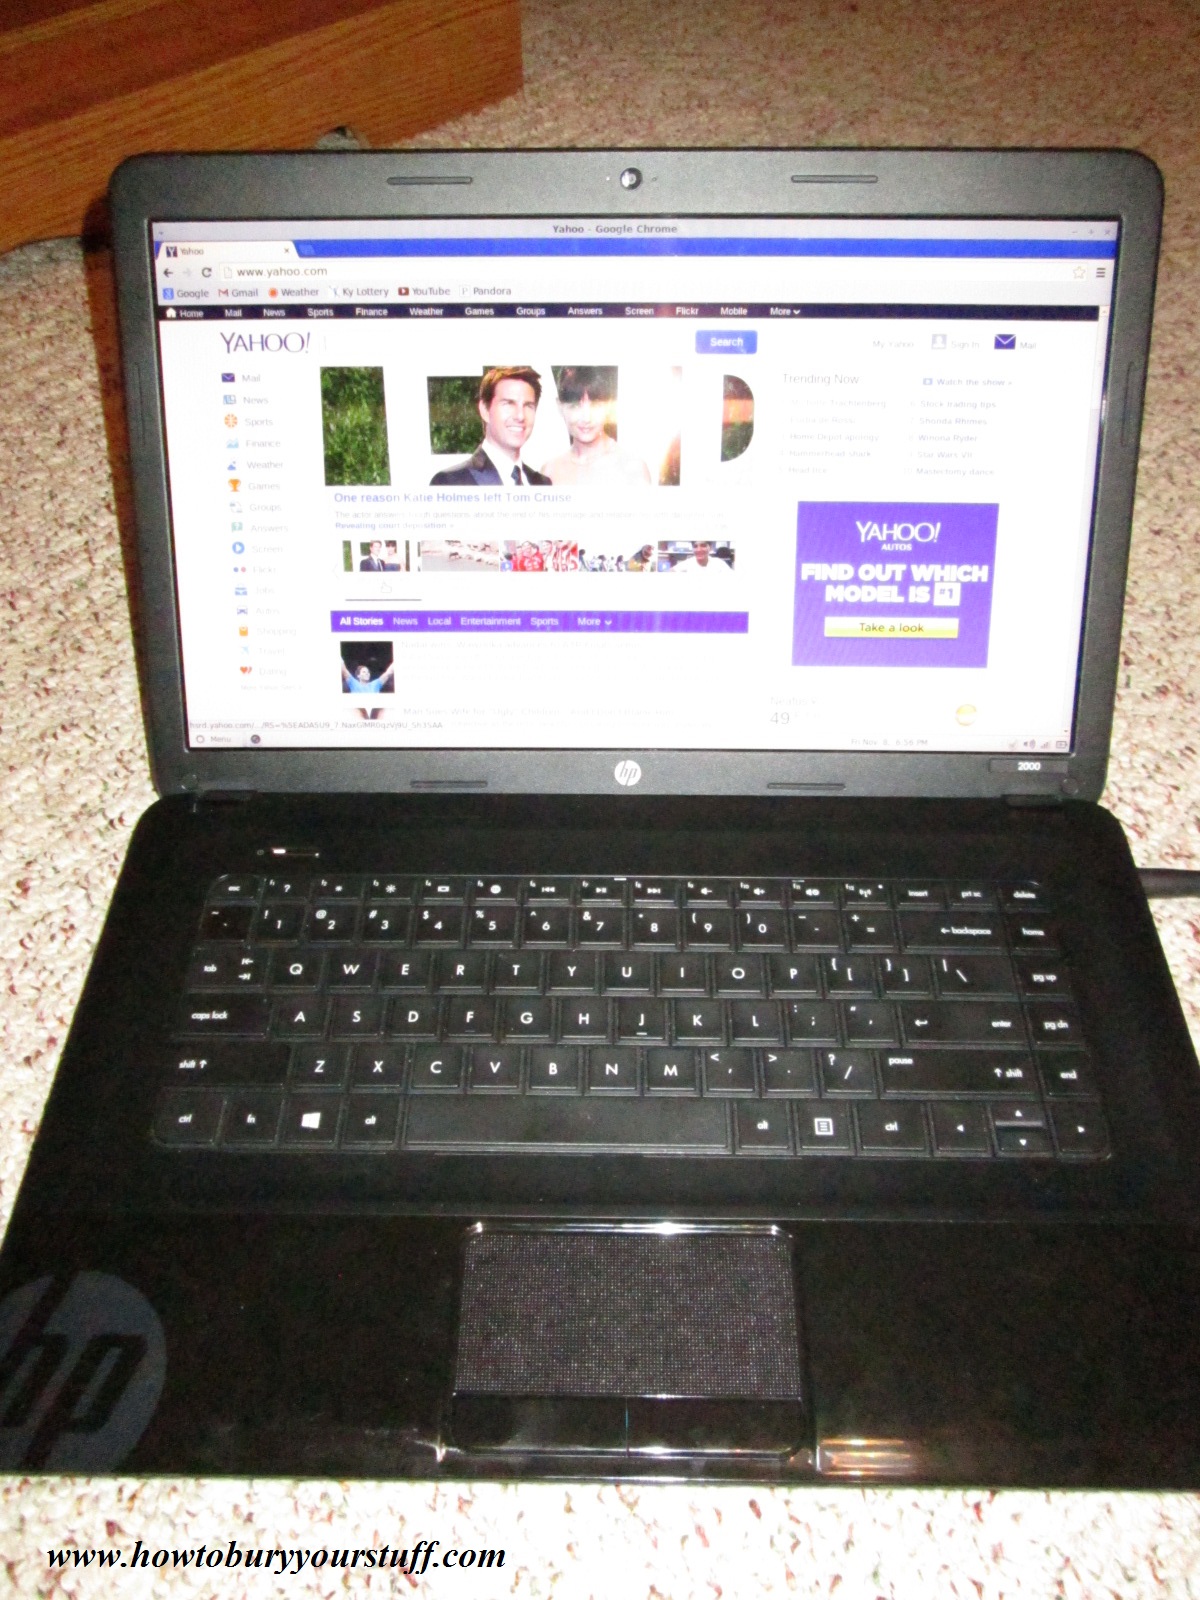
 As experienced as I am with caching all sorts of items underground, this was my first involvement with burying an entire computer for an extended period of time. Since I had already mentioned this project on another webpage, I felt a noticeable amount of pressure when I hit the power button. Apprehension quickly gave way to relief when the machine immediately booted just as quickly as it did when I first had Linux installed. Here’s a photo of the HP with today’s Yahoo’s homepage.
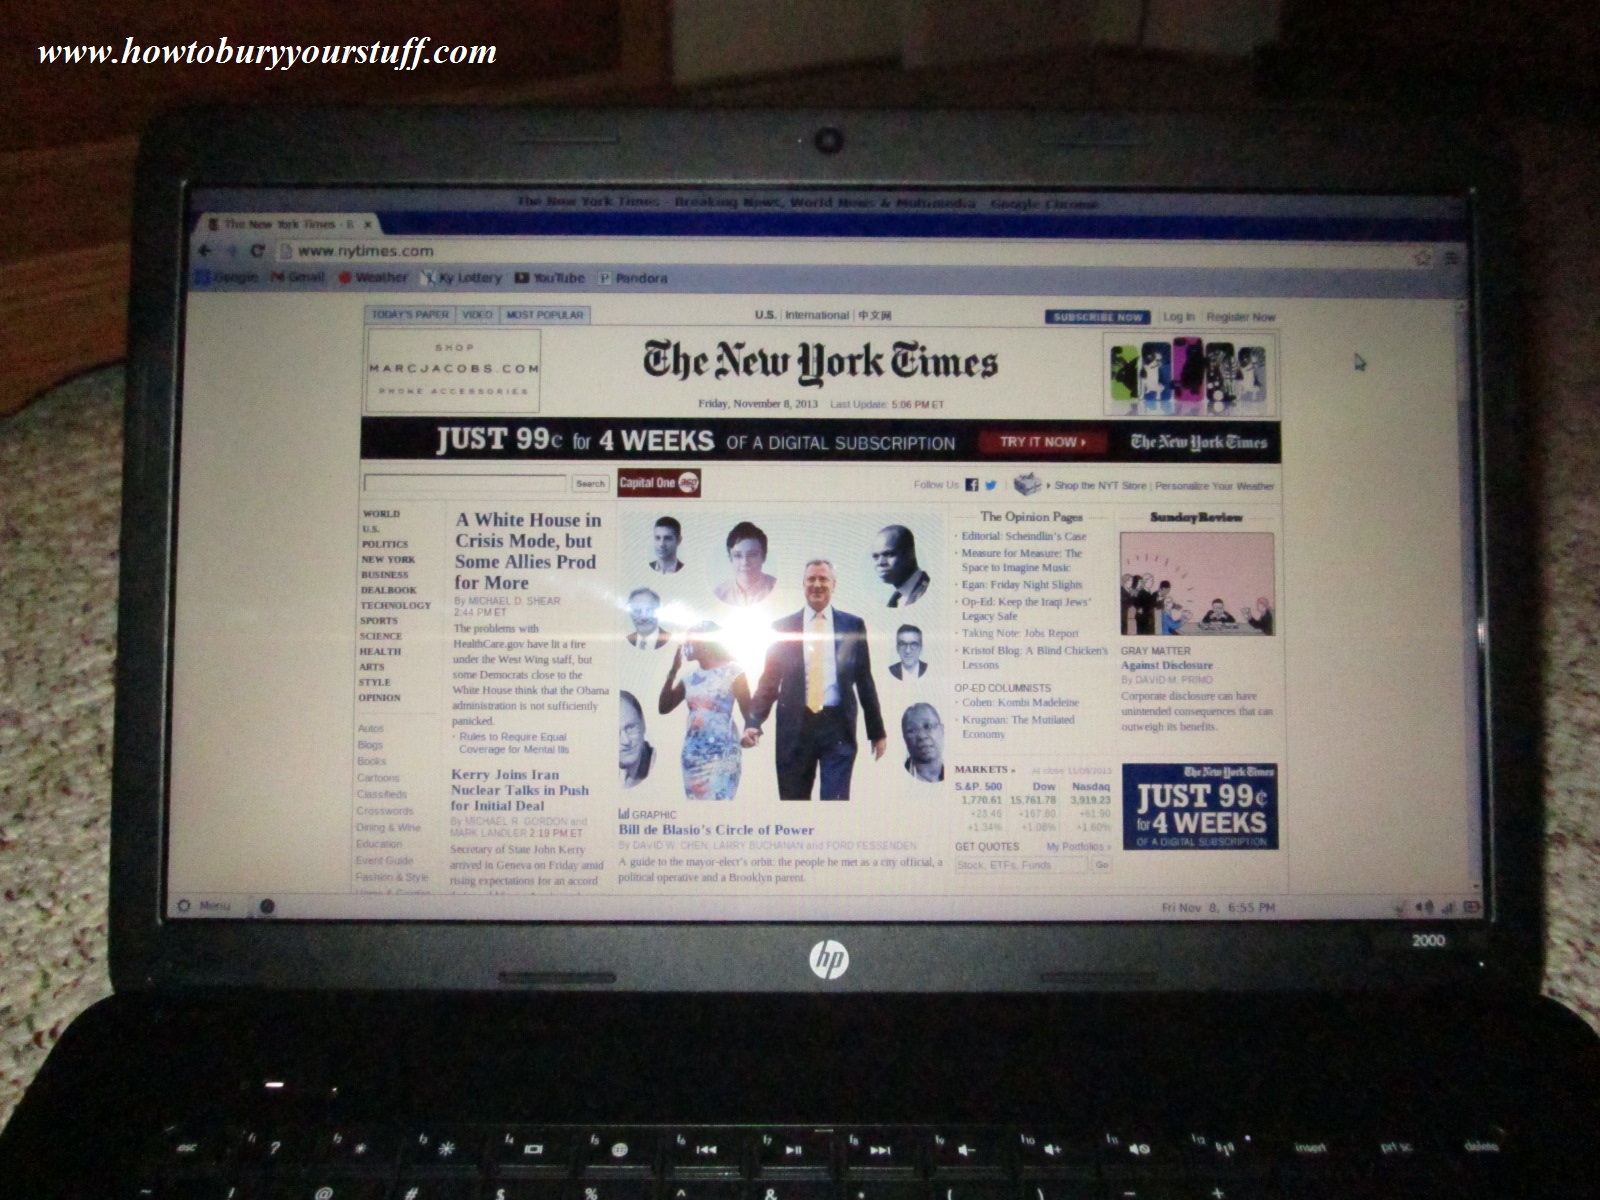
 I transferred several random files around, tested the optical drive, opened Chrome and Firefox then hit up a couple of the more popular websites. The machine functions flawlessly and here’s a photograph of today’s (8 Nov 2013) New York Times webpage.
 My first experience with the Bell Method was placing cassette tapes or books inside Zip-Loc bags and super-gluing them to the bottom of a 5 gallon bucket. I was about 12yrs old and I would bury the buckets upside-down to hide them from my parents; (yeah, I had a weird childhood) and since then, I’ve never had any damage to any of my belongings whenever I used the Bell Method. The Sterilite tote that I used in this project is not air-tight but it is durable and quite handy for all types of things.
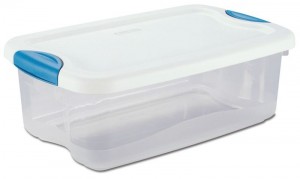
>> Click here to get current pricing and reviews from Amazon.com on Sterilite 15qt containers <<
I consider this project to be a shining example of how well my Bell Method works. Not only did I NOT use the revered and acclaimed desiccant or silica-gel; I didn’t use any waterproofing techniques including float-bags, silicone sealant, plastic bags, dry-boxes, pelican cases or sealed containers of any kind. In fact with the exception of the bath towels, the laptop was even open to the air. I didn’t purchase anything in order to complete this project, only using things that I found in the house or garage. The key was burying below the frostline and ensuring that I had a one-piece Bell that kept water from running up into my cache. The other important factor was the bath towels wrapped around the machine and the dead air space between the two containers acting as an additional temperature buffer.
The blue tote will have to be thrown away. It’s hard to see in the photos, but one side was caved in a little from the weight of the soil. As I mentioned on one of my other pages, storage totes this large are not ideal for caching underground. In just one year, the soil had packed very tightly and made it difficult to retrieve. In addition, I managed to crack the tote with the mattock while digging it up and then I broke one of the lid latches when pulling it out of the ground. However, it should be noted that my cache was intact before I retrieved it; the damage was the result of my carelessness with the mattock. In retrospect, it would’ve saved me a lot of time and trouble to just cut a hole in the bottom of the blue tote, pulled the Sterilite container through and reburied the broken tote.
The trade-off of using household products for this experiment did involve digging a massive hole in the ground in order to properly bury the cache. Retrieving it yesterday and then refilling the hole was even more work; I have a sore back that could’ve been prevented with a few investments. Pelican Products makes several cases specifically for laptops and they are well worth it for the convenience. If I ever bury another notebook, I’ll use one of these and save myself a lot of digging.
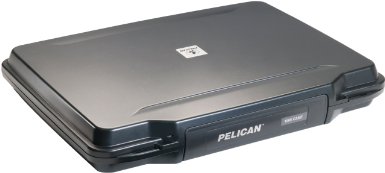
These laptop cases are surprisingly affordable and can not only be used for caching underground, but on a daily basis for work or school. I’ve read about people dropping their notebooks while in these cases and reporting no damage to the machine at all.
I think that this project has shown how cheaply and effectively my Bell Method can be used with guns, books, electronics, ammo, documents, medications, laptops, or camping and survival gear. And just for the record, I don’t recommend caching valuable items in your garden or flower bed. Last year, I had to dig quietly at 3:00am in near-total darkness to prevent my neighbors from seeing me bury a huge bright-blue storage tote in our backyard; and I’m sure I got some weird looks yesterday while I was digging it up. Stick to wooded areas.
Well that’s about as detailed of a description as I can give, but should you have any questions, comments or suggestions, please feel free to click on the Contact Me page of this website.
Comments are currently closed.
NOW AVAILABLE!!!
 Support our site and get a printer friendly version of our Guides to print or view on your mobile phone or tablet where ever you go.
Also includes Bonus Information not found on our site.
-
Recent Posts
- Permanent caches: For the “Long Haul”
- What to Bury: A Guide for New Preppers
- How to Bury a Laptop – A Step-by-Step Guide
- How to Bury Food
- Guide to Military Surplus Ammo Cans
- Underground Fuel Storage
- Tricks and Tips for Caching
- My Personal Cache – A Step-by-Step Guide
- Helpful Links and Other Resources